Tuesday, October 29, 2013

Paleo Bacon Wrapped Pineapple Pecan Turkey/Chicken Fillets

Yum!
Bacon Wrapped Pineapple Pecan Turkey Fillets


Ingredients

  • Four skinless, boneless turkey(or chicken) breast fillets
  • Four slices uncured, all natural bacon
  • Pineapple slices(I used canned in all natural pineapple juice, no sugar added)
  • Pecan halves(optional and you can use walnuts or cashews)
  • Seasoning of choice(all natural, of course)


Fillets being thinned out.

Put your fillets on a cutting board or other surface and using a tenderizing mallet, pound the fillets until thin enough to roll up easily. The one fillet over on the right is the way they all looked before I took the mallet to them. I sort of forgot to take the picture until I already had three of them thinned out.


Seasoned and ready to roll!

Season and place one pineapple slice on each fillet. I used Salt Grass 7 Seasoning, it's not 100% Paleo approved, but very close. It has Kosher salt instead of sea salt. You can just use salt and pepper or maybe some garlic powder, really whatever you like as long as it's natural with no additives.


My new fave seasoning!
Pineapple slice on fillet

Pull the pineapple slice down to one end of the fillet. If one end is smaller, like in the above picture, start at that end. Carefully roll the fillet up and place seam side down until all are rolled and ready for the next step, the bacon wrapping!


Rolled up with pineapple inside
Lovely bacon!


Wrapping the fillets in the bacon

Carefully place the rolled up fillet on the bacon strip and then just roll until all the bacon is around the fillet. I keep saying "carefully" because the pineapple will try to slip out if it broke while you were handling it.


Ready to bake in foil lined pan

Place rolled up fillets in a foil lined pan(I use foil to make the clean up easier). I put the extra pineapple slices on top and around the sides and then sprinkled a few pecan halves over it all. I also added a very small amount of the pineapple juice, not too much or the bacon won't crisp.


Bake at 400 degrees until bacon is as crisp as you like, approximately one hour.

Ready to eat!


I baked a pan of sweet potatoes at the same time I baked this dish. They were yummy too! Just rub with pastured butter or olive oil and bake until soft.


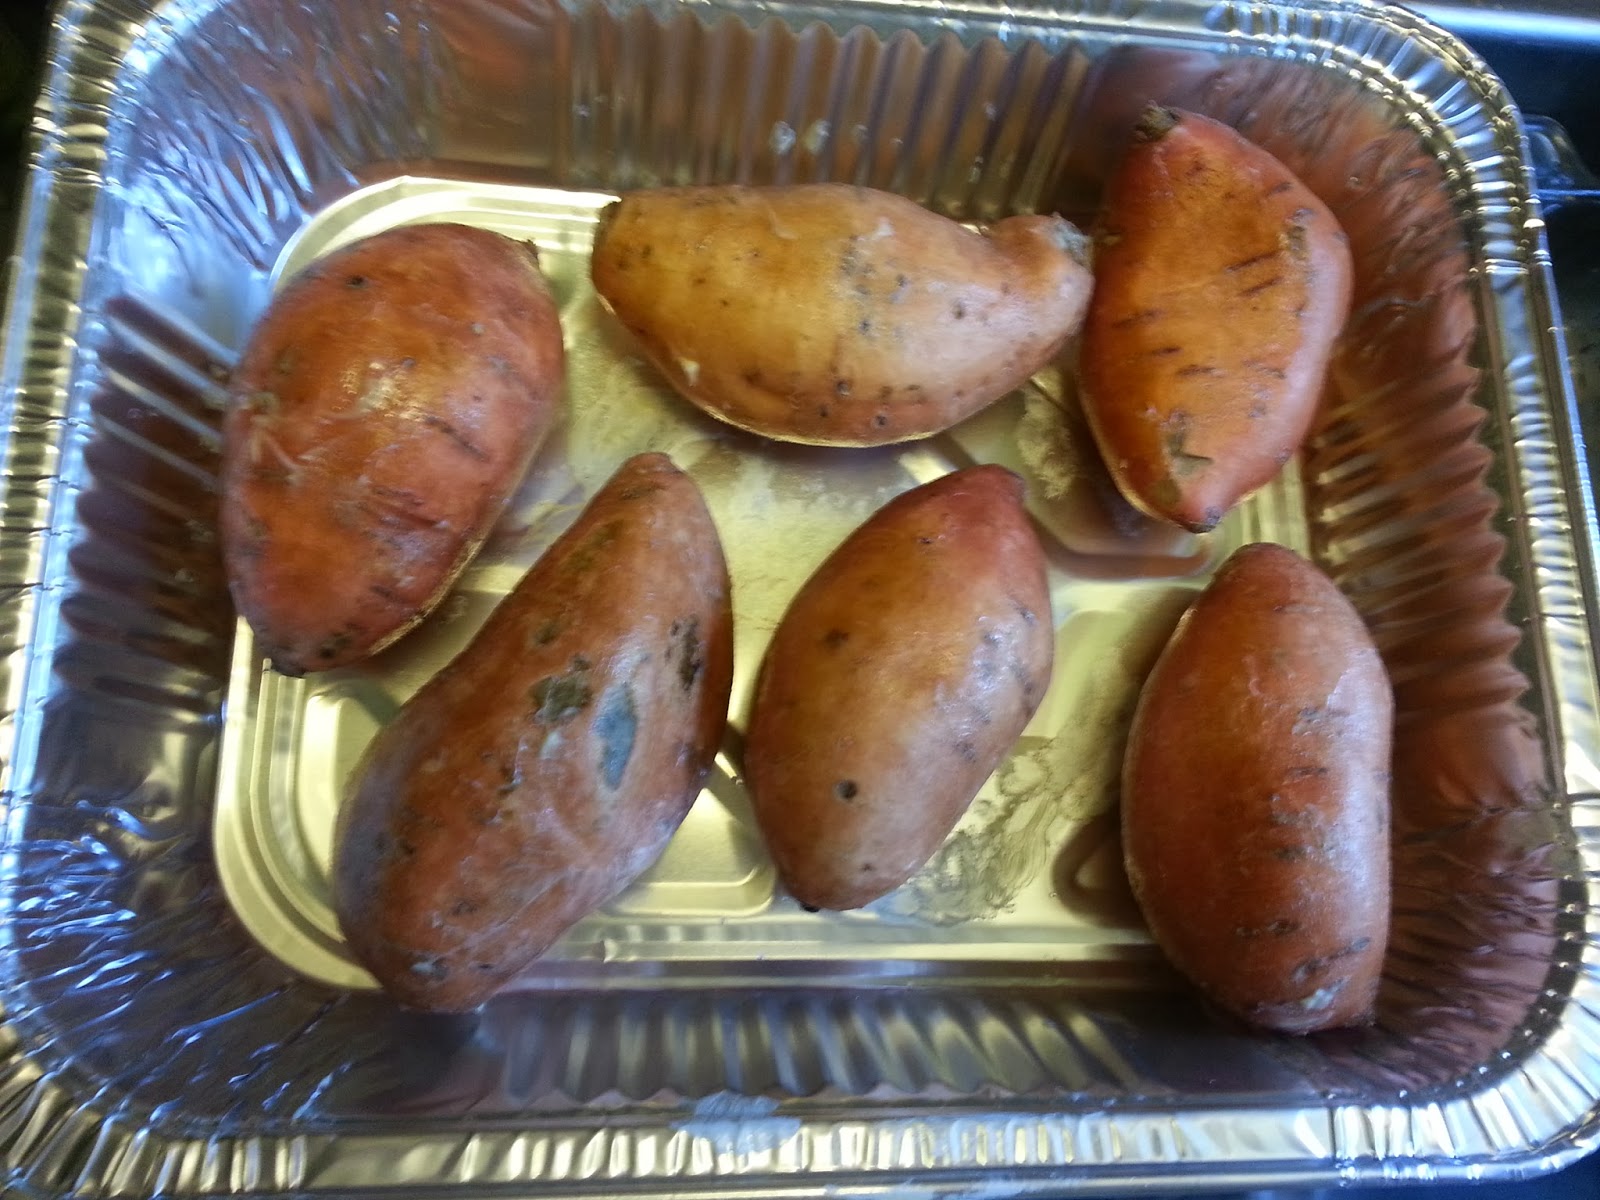
Love sweet potatoes!

Recipe

Preheat oven to 400 degrees

Ingredients

  • Four skinless, boneless turkey(or chicken) breast fillets
  • Four slices uncured, all natural bacon
  • Pineapple slices(I used canned in all natural pineapple juice, no sugar added)
  • Pecan halves(optional and you can use walnuts or cashews)
  • Seasoning of choice(all natural, of course)

Pound fillets until thin, place pineapple slice on fillet and roll carefully roll up. Place roll on a strip of bacon and roll until all the bacon is wrapped around the fillet. Place in baking dish, place extra pineapple on top if desired and then sprinkle pecans, walnuts or cashews on top. If you like, pour a small amount of pineapple juice around, but not much. You want your bacon to crisp. Bake at 400 degrees until bacon is crisp and turkey is done, approximately one hour.

Enjoy! 


Thursday, October 24, 2013

DIY Mason Jar Mini Lights


Here's another simple way to use Mason Jars for decoration. Mason Jar lights are just delightful to me! Well, face it...anything that involves a jar is a delight to me.

I made two different sets, one using three blue pint reproduction jars, you know the ones that are being sold these days. That's the set in the picture above. The other set was four assorted shapes of half pints that I had on hand. I am a sucker for those odd shaped jars!

I also used the lids that already have the design cut in them. If you don't have these, you could just punch two holes in a lid opposite from each other, large enough for your lights to fit through.

I used the 20 count battery operated lights, the lights are thin and thread through the holes easily. You can use the regular lights if they'll fit through the holes.

Items needed:

  1. Jars ~ your choice as to number and size
  2. Lids ~ I used the precut ones(see pictures)
  3. Small lights(unless you punch your own holes in the lids and then you can use whatever size you like)


How to:

Assemble your jars, lids and lights.

Jars, lids and lights


Thread the lights through the lids, starting from the top and going down through one opening carefully so you won't damage the lights. Pull the entire strand down through the first lid and start back up through another opening opposite the first. Your battery pack will be outside the first jar. 

Thread lights down and then back up


How many lights you have in each jar will depend on how many lights you have on the strand and how many jars you decide to use. I had 20 lights per strand and this set has three jars, and since I wanted to leave a bit of space between the jars, I put six lights in each jar with one between the jars. Once you figure how many lights you'll want in each jar, go ahead and place the lights inside the jar as you finish each lid and then place the lid on the jar but don't tighten, moving on to the next lid and repeating the process. You won't tighten the lids until finished with them all.

First jar

All three jars done
Once you get the lights in the last jar, go ahead and tighten each lid. It works best to tighten the lids by rotating the jar, not the lid.

Top View

If you're watching closely, you'll notice the jars are turned the opposite of the way I began. That's because I wanted the Ball logo to be in front and it ended up the on the backside once I tightened the lids. No big deal.....the battery pack is just on the opposite end now!

They really are adorable. I chose to put this set on the bench at the foot of the iron bedstead in the kids room(guest room).


They've been benched!

Now on to the second set!


The process is the same, so I'll just post the pictures so you can see how adorable they are!

Four odd shaped half pint jars.


Finished product

Three jars have four lights, the last has five and there are three lights in between, because I needed space to spread them out.

The small ones
The pictures don't really do them justice. They're absolutely adorable. I even added a couple drops of White Fir Essential Oil in each jar for a little scent. You can use any scent you like, the heat from the lights will cause a subtle scent, but you will have to keep replenishing the oil if desired.

I used the clear lights, you could use different colors for different occasions, multi colored for CHRISTmas, etc.

By the way, White Fir is the October oil from the Spark Naturals Oil of The Month Club. If you haven't joined, it's a great deal. See the details below:


This blog was shared on

The Homestead Barn Hop


Blessings from Patti's Place to your place!


Wednesday, October 16, 2013

Warm & Cozy Diffuser Blend

Baby, it's cold outside!


Well, it's not actually very cold here in Texas at this time, but I know those of you up north are having some very cold temps already and lots of snow.

It's time to get some Warm & Cozy Essential Oils diffusing.

Nothing says cozy like the smell of Cinnamon and Clove. Just think Apple Pie! Add a little White Fir to the mix and you've got a cozy blend going that's guaranteed to make you want to snuggle down and read a good book or maybe work a jigsaw puzzle. 


Add caption


If you don't have a diffuser, you can blend these oils with a little water or witch hazel in a spray bottle and spritz around the house or workplace. If you're at home, you can simmer in a pan on the stove.


If you don't have these Essential Oils you can find them at Spark Naturals, very reasonably priced. You can also find a great diffuser there.

Remember to use coupon code PATTI at checkout and get 10% off your order. 

Shipping is always just $6.49.

Stay warm & cozy!


Sunday, October 13, 2013

DIY Lavender Spray Starch

It's been many, many years since I bought a can of spray starch. I make my own, it's super easy and much cheaper than the aerosol cans. Plus, there's less waste and less cans in the trash.

Ironing is not my favorite household chore, which is why there is a basket of "ironing clothes" that is never quite empty.

I'm no stranger to starch nor ironing and it's my mother's fault that I hate ironing. Well, maybe more my daddy's, but she's the one who gave me that wonderful chore for my own. I think she probably wasn't too fond of ironing either, but.....


Daddy was a welder.


Tuesday, October 8, 2013

Gluten Free Almond Flour Pinched Biscuits

I'm a country girl, raised on homemade biscuits and gravy. My grandmother was the Queen of Biscuits and Gravy as far as I was concerned. None of those dropped or rolled and cut biscuits either, but the pinch 'em and pat 'em out in your hand biscuits. They weren't the prettiest biscuits ever made, but I'm pretty sure they were the best.

I've been missing those. They're not exactly Paleo or very healthy, so I've managed to restrain myself for months now. I'm becoming biscuit deprived....I'm sure of it.

So, I've been looking around for a biscuit recipe and I've found several I'm going to try. The first one comes from Elana's Pantry. She has so many awesome recipes, I recommend you bookmark her page.

You can find Elana's biscuit recipe here.

I made one adaptation to the recipe, I used melted pasture butter in place of the buttery spread.

I come from a long line of pinch 'em and pat 'em out in your hand and cook 'em in the iron skillet biscuit makers(we really do talk like that in these parts you know), so I decided to give it a try with this recipe. I made a few changes in the procedure. This is a sticky dough, so you have to firm it up a bit, but not too much or they will be tough. That's the first thing I learned when being taught by my grandmother; "don't work too much extra flour in and don't work the dough too much, they'll be packy. No one wants a packy biscuit. If you prefer rolling your biscuits or dropping them, that's entirely your choice, if rolling them out, you'll probably need to roll them between two sheets of parchment paper. If dropping them, you won't need the extra flour.

Pinched and Patted Biscuits


2 1/2 cups almond flour, plus enough to dust the dough
1/2 teaspoon sea salt
1/2 teaspoon baking soda
1/4 cup melted pasture butter(my variation from Elana's recipe)
2 eggs
1 tablespoon honey(or agave nectar)
Olive oil for iron skillet, just enough to lightly coat the bottom

1. In a medium bowl, combine almond flour, salt and baking soda
2. In a large bowl, blend together melted butter, eggs and honey
3. Stir the dry ingredients into the wet until a dough forms(will be sticky)
4. Dust cutting board with extra almond flour and turn dough out on board
5. Dust your hands, and work with the dough a bit, turning over a time or two to add enough of the dusting flour to make the dough not so sticky.
6. Form a sort of roll to be better able to pinch the biscuits off(see picture)
7. Pinch off enough for a small biscuit and pat in your hand to form.
8. Place formed biscuit in iron skillet that has a small amount of olive oil in bottom
9. Gently turn biscuit over in skillet so top and bottom are coated with olive oil, I pat them with the back of my hand to flatten them a bit. I can still see my Mama Ruby's little hands doing this!
10. Bake at 350 for 15-20 minutes or until biscuits are nicely browned.

Makes about 8 biscuits

Formed and ready to pinch!


Small amount of olive oil in medium skillet


In skillet ready to bake


Out of the oven

I have to admit, I was a bit anxious to see if they would actually work like this! They did! Very nice looking biscuits.


Oh yeah! Next move....butter and strawberry chia seed jam!

I was out of blanched almond flour, so I had to grind my own from plain almonds, this always gives a coarser and darker flour. They're a little grainy but very, very good. Not quite Mama's biscuits, but they'll certainly do in a pinch(pun intended).

I love it when a plan comes together!

Now....I need another biscuit!


Monday, October 7, 2013

Strawberry Chia Seed Jam

This is my favorite jam these days. It's easy, it's healthy and it's yummy!


Three ingredients and a blender or food processor are all you need. 

We all know that processed sugar is bad for us, but quite frankly, I didn't know how I was going to live without some sort of jam or jelly. So I'm very excited and very satisfied with this little recipe.

What you need:

  1. One pound(a very full two cups or so) fresh strawberries(can use blueberries, blackberries, etc.)
  2. 2-3 tablespoons chia seeds(I use 3 because I like my jam to be firmer)
  3. 1 tablespoon honey(optional)
  4. A blender or food processor
Just an idea for those who don't have either a food processor or blender....I'm pretty sure you could make this by mashing the berries thoroughly.


Lovely fresh berries!


Wash and trim your one pound of berries. This will be two cups of berries, plus about 1/2 cup more. The small package of berries you buy is one pound, the large is two pounds. If you buy the large, just use half the berries. Unless you eat a lot of this, you don't want to make a lot of this up at one time, it has to be refrigerated and won't last indefinitely. 


In the blender.

In the blender or food processor, add your berries, chia seeds and honey. Blend briefly. I like to leave the berries a little chunky. Most recipes call for 2 tablespoons of chia seeds, I use 3 because I like mine a little firmer. You can try it with 2 and then add more later if it's too thin.

Y'all do know I had to do a blog that had a picture of my new Vitamix blender, don't you? I can't believe I actually took the leap and bought one.  It's not quite as bad as buying a vehicle, but an investment, that's for sure! I do believe I shall make it pay for itself quickly though! Love this thing!


Meanwhile, back to the jam.

Well, actually we're finished with the jam. That's all you do. Just blend and then pour up into a pint jar. Let set for a few hours so the Chia seeds will thicken the berries.

Enjoy! Believe me, you will!


The finished jam